

Espresso Brewing Guide
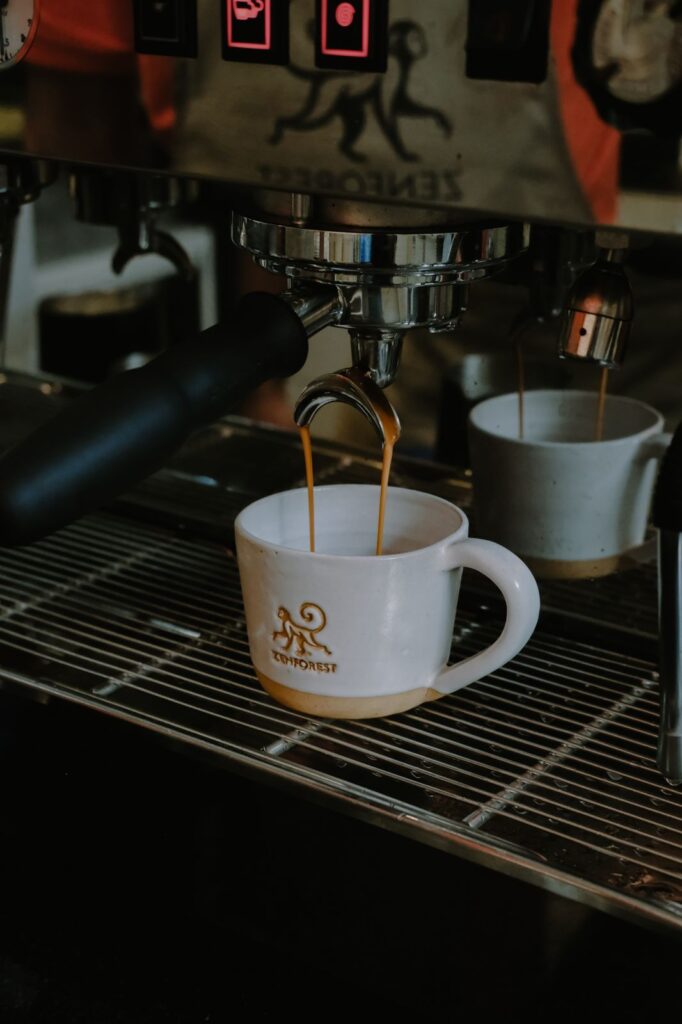
Espresso is the most demanding brewing method on this list, relying on precise pressure, a fine and consistent grind, and tight tolerances on time and yield. It’s also the foundation of nearly every milk-based coffee drink, which makes getting it right worth the extra care. Quick Answer Espresso is brewed by forcing hot, pressurized water through a fine, tightly packed bed of coffee grounds in roughly 25-30 seconds, typically at a 1:2 coffee-to-water ratio, producing a small, concentrated shot topped with crema. What’s in this guide What You’ll Need Step-by-Step Method Dialing In Crema Common Mistakes Continue Learning Recommended Coffees Learn More FAQs What You’ll Need An espresso machine capable of roughly 9 bars of pressure, a burr grinder capable of a fine, consistent grind, a scale, and a tamper for compacting the grounds evenly. Step-by-Step Method Step Instructions 1. Dose Grind and dose 18g coffee into the portafilter 2. Distribute Level the grounds evenly before tamping 3. Tamp Tamp firmly and level, roughly 15kg of pressure 4. Pull Extract for 25-30 seconds, targeting 36g output 5. Evaluate Check for a balanced shot — not sour, not bitter Dialing In If your shot pulls too fast and tastes sour, grind finer. If it pulls too slow and tastes bitter, grind coarser. Espresso is the most grind-sensitive brewing method, so small adjustments matter enormously. Crema The golden-brown foam on top of a shot, called crema, comes from CO2 and oils emulsified under pressure. Fresher beans produce more crema; very old beans often pull with little to none. Zenforest Expert Tip Time your shot every single time, not just occasionally. A shot that takes 18 seconds or 45 seconds instead of the target 25-30 is the fastest signal that your grind size needs adjusting. Common Mistakes ✕Using stale beans, which pull inconsistently and lack crema✕Inconsistent tamping pressure between shots✕Not weighing both input dose and output yield✕Ignoring shot time as a diagnostic signal✕Using a blade grinder instead of a burr grinder Continue Learning Coffee Grind Size→Coffee Extraction→Brewing Ratios→Roast Levels→ Recommended Coffees Espresso Roast Espresso Roast Learn More Specialty Coffee Association (SCA)↗ Frequently Asked Questions What grind size is best for espresso? A very fine grind, close to powder but not dust, is required to build enough resistance for proper pressure extraction. How long should an espresso shot take to pull? 25-30 seconds is the standard target window for a balanced shot. Why does my espresso taste sour? The shot is likely pulling too fast — try a finer grind to slow it down. Why does my espresso taste bitter? The shot is likely pulling too slow or using too fine a grind, or beans may be over-roasted. Can I make espresso without a machine? Not true pressurized espresso, but a moka pot can produce a similarly strong, concentrated stovetop alternative. Precision Pays Off in Every Shot Espresso has the smallest margin for error of any brewing method, but also the fastest feedback loop — every shot tells you exactly what to adjust next. Stay consistent with dose, tamp, and timing, and the rest follows. Explore More in the Coffee Academy Every cup tells a story — keep learning, keep tasting, and keep exploring what makes specialty coffee worth the extra care. Visit the Coffee Academy →
Cold brew Guide
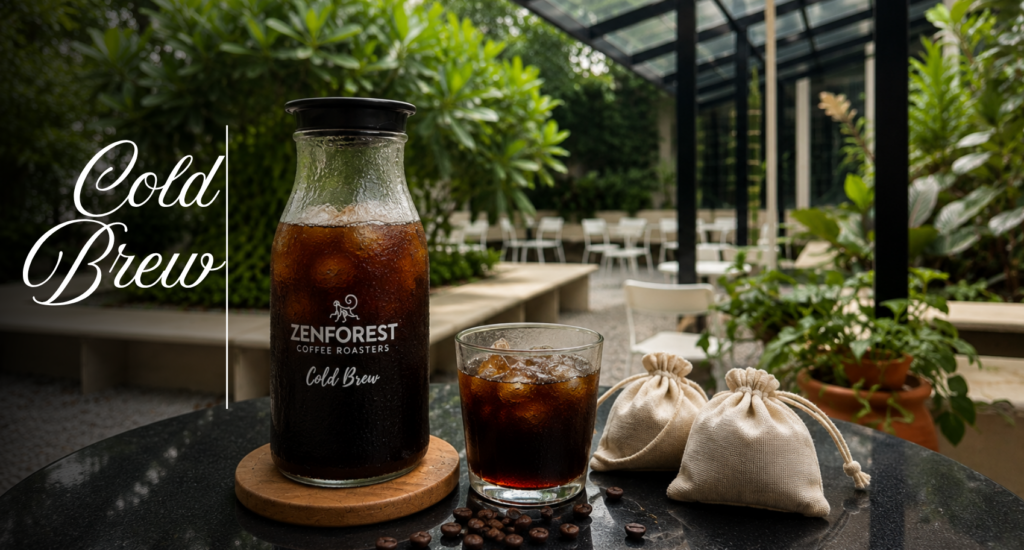
Cold brew trades heat for time, steeping coarsely ground coffee in cold water for many hours instead of minutes. The result is a smooth, naturally sweet, low-acid concentrate that’s as versatile served over ice as it is diluted with hot water. Quick Answer Cold brew coffee is made by steeping coarsely ground coffee in cold or room-temperature water for 12-24 hours, then straining to produce a concentrate, typically at a 1:8 ratio, that’s diluted with water, milk, or ice before drinking. What’s in this guide What You’ll Need Step-by-Step Method Why Cold Brew Tastes Different Storage Common Mistakes Continue Learning Recommended Coffees Learn More FAQs What You’ll Need A large jar or dedicated cold brew maker, a coarse grind of coffee — coarser than French press — cold or room-temperature water, and a fine strainer or paper filter for the final straining step. Step-by-Step Method Step Instructions 1. Combine Combine coffee and water at roughly 1:8 ratio in a jar 2. Stir Stir gently to fully saturate the grounds 3. Steep Cover and steep at room temperature or in the fridge for 12-24 hours 4. Strain Strain through a fine mesh, then a paper filter for clarity 5. Dilute Dilute concentrate with water, milk, or ice to taste before drinking Why Cold Brew Tastes Different Cold water extracts a different balance of compounds than hot water — fewer acids and oils, more smooth, naturally sweet character — which is why cold brew tastes noticeably less acidic and bitter than hot-brewed coffee, even from the same beans. Storage Cold brew concentrate keeps well refrigerated for up to two weeks in a sealed container, making it convenient to batch-brew for the week ahead. Zenforest Expert Tip Cold brew is forgiving on ratio but unforgiving on grind size — always use a coarse grind. Anything finer will produce excessive sediment and a muddy, gritty cup. Common Mistakes ✕Using a grind that’s too fine✕Steeping for too short a time✕Skipping the final paper filter step✕Drinking concentrate undiluted✕Storing concentrate too long past two weeks Continue Learning Coffee Grind Size→Coffee Storage→Brewing Ratios→Coffee Brewing Temperature→ Recommended Coffees Cold Brew Blend Cold Brew Blend Learn More Specialty Coffee Association (SCA)↗ Frequently Asked Questions How long should cold brew steep? 12-24 hours is standard, with longer steeps producing a stronger, more concentrated brew. Does cold brew have more caffeine than hot coffee? The concentrate is stronger, but once diluted to a normal serving strength, caffeine content is comparable to hot-brewed coffee. Can I make cold brew with any roast level? Yes, though medium roasts are a popular middle ground — cold brew naturally smooths out roast-driven bitterness regardless of roast level. Why is my cold brew gritty? Your grind is likely too fine, or you skipped the final paper-filter straining step. How long does cold brew concentrate last? Up to two weeks refrigerated in a sealed container. Patience Pays Off Cold brew takes planning instead of precision — once you’ve got the ratio and steep time dialed in, it’s one of the easiest ways to keep smooth, low-acid coffee on hand all week. Explore More in the Coffee Academy Every cup tells a story — keep learning, keep tasting, and keep exploring what makes specialty coffee worth the extra care. Visit the Coffee Academy →
Moka pot Guide
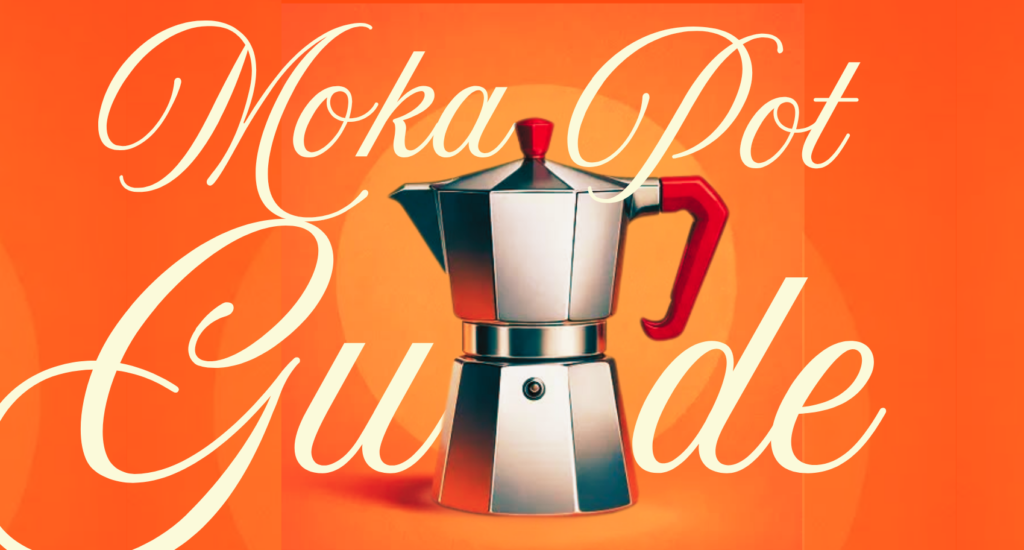
The moka pot has been a stovetop staple for nearly a century, producing a strong, concentrated brew using nothing but heat and pressure built from boiling water. It’s not technically espresso, but it gets remarkably close with none of the machine investment. Quick Answer A moka pot brews coffee by forcing boiling water up through a fine-to-medium grind using steam pressure, producing a strong, concentrated cup similar to espresso. Use a medium-fine grind, fill the water chamber to just below the safety valve, and remove from heat as soon as the flow turns light and hissing. What’s in this guide What You’ll Need Step-by-Step Method Avoiding Bitterness Using Hot Water to Start Common Mistakes Continue Learning Recommended Coffees Learn More FAQs What You’ll Need A moka pot, a stovetop or heat source, and a medium-fine grind of coffee — finer than drip grind but coarser than espresso grind. Step-by-Step Method Step Instructions 1. Fill water Fill the bottom chamber with hot water just below the safety valve 2. Add coffee Fill the filter basket level, without tamping 3. Assemble Screw the top chamber on firmly but not overly tight 4. Heat Place on medium heat with the lid open 5. Watch Remove from heat once flow turns light and hissing begins Avoiding Bitterness Moka pot coffee can turn bitter quickly if left on heat too long. Removing the pot as soon as you hear a hissing, sputtering sound — signaling the water chamber is nearly empty — prevents over-extraction. Using Hot Water to Start Starting with hot, not cold, water in the bottom chamber reduces the time the coffee grounds spend in contact with heat before brewing begins, helping avoid a cooked, bitter flavour. Zenforest Expert Tip Remove your moka pot from the heat the moment you hear sputtering — even a few extra seconds on the burner can push a good brew into bitter territory. Common Mistakes ✕Using cold water in the bottom chamber✕Tamping the coffee grounds like espresso✕Leaving the pot on heat too long after sputtering starts✕Using too fine a grind, which can clog the filter✕Using too high heat, which brews unevenly Continue Learning Espresso Brewing Guide→Roast Levels→Coffee Brewing Temperature→Coffee Grind Size→ Recommended Coffees Great for Moka Pot Monsoon Malabar Learn More Specialty Coffee Association (SCA)↗ Frequently Asked Questions Is moka pot coffee the same as espresso? Not technically — moka pot uses lower pressure than true espresso machines, but produces a similarly strong, concentrated cup. What grind size is best for moka pot? A medium-fine grind, finer than drip but coarser than espresso grind, works best. Why does my moka pot coffee taste bitter? Most likely it was left on heat too long after sputtering began — remove it from heat as soon as you hear that sound. Should I use hot or cold water to start? Hot water reduces grounds’ contact time with heat before brewing, helping avoid a bitter, cooked flavour. Can I use moka pot coffee for milk drinks? Yes — its strength and body make it well-suited for lattes and cappuccinos at home. A Classic for a Reason The moka pot remains one of the most reliable ways to get a strong, espresso-style cup without specialized equipment. Master the timing of removing it from heat, and you’ll get a consistently good result every time. Explore More in the Coffee Academy Every cup tells a story — keep learning, keep tasting, and keep exploring what makes specialty coffee worth the extra care. Visit the Coffee Academy →
Pour-over Guide
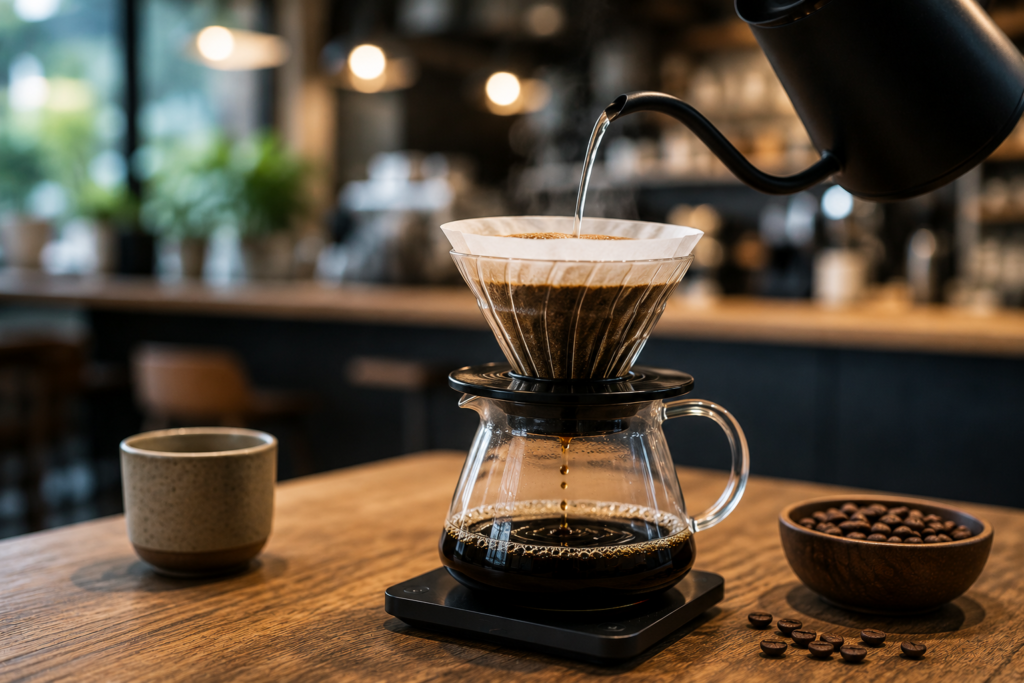
Pour-over is the brewing method most associated with specialty coffee, and for good reason — its clean, controlled extraction highlights acidity, sweetness, and origin character better than almost any other method. It takes a bit more attention than dump-and-brew machines, but the payoff is worth it. Quick Answer Pour-over brewing uses a medium grind, a 1:16 coffee-to-water ratio, and a slow, controlled pour over roughly 2.5-3.5 minutes to produce a clean, bright, well-balanced cup that highlights a coffee’s origin character. What’s in this guide What You’ll Need Step-by-Step Method Pouring Technique Common Adjustments Common Mistakes Continue Learning Recommended Coffees Learn More FAQs What You’ll Need A pour-over dripper (V60 or similar), paper filters, a gooseneck kettle for pour control, a scale, and a medium grind of coffee, similar in texture to coarse sand or table salt. Step-by-Step Method Step Instructions 1. Rinse Rinse the filter with hot water and discard the rinse water 2. Dose Add 20g coffee, level the bed 3. Bloom Pour 40g water, let bloom 30-45 seconds 4. Pour Pour remaining water in slow circular motions to reach 320g total 5. Drain Let the dripper fully drain, total brew time 2.5-3.5 minutes Pouring Technique Pour in slow, gentle circles from the center outward, avoiding the very edges of the filter where water can channel down without passing through the coffee bed evenly. Common Adjustments If your brew finishes too quickly and tastes sour, grind finer. If it drains too slowly and tastes bitter, grind coarser. Small adjustments make a big difference in pour-over. Zenforest Expert Tip Total brew time is one of the most reliable signals something’s off. If your pour-over finishes well outside the 2.5-3.5 minute window, adjust your grind size before changing anything else. Common Mistakes ✕Pouring too fast and disrupting the coffee bed✕Skipping the bloom step✕Using a grind that’s inconsistent with your dripper’s flow rate✕Pouring directly onto the filter edges instead of the coffee bed✕Not using a scale for both coffee and water Continue Learning Coffee Bloom→Coffee Grind Size→Brewing Ratios→Coffee Brewing Temperature→Coffee Extraction→ Recommended Coffees Light Roasts Light Roast Coffees Learn More Hario↗Chemex↗ Frequently Asked Questions What grind size is best for pour-over? A medium grind, similar to table salt or coarse sand, is the standard starting point for most V60-style brewers. How long should pour-over take? Total brew time, including bloom, should land around 2.5-3.5 minutes for most recipes. Do I need a gooseneck kettle? It’s strongly recommended for pour control, though not strictly required for a basic brew. Why does my pour-over taste sour? Likely under-extraction — try a finer grind or slightly longer brew time. Can I use pour-over with any roast level? Yes, though light to medium roasts tend to showcase pour-over’s clarity and acidity best. Slow Down and Taste the Difference Pour-over rewards attention to detail more than any other method on this list. Once you’ve dialed in your grind, ratio, and pour technique, it’s one of the clearest ways to taste exactly what a coffee’s origin and processing actually contributed. Explore More in the Coffee Academy Every cup tells a story — keep learning, keep tasting, and keep exploring what makes specialty coffee worth the extra care. Visit the Coffee Academy →
AeroPress Guide
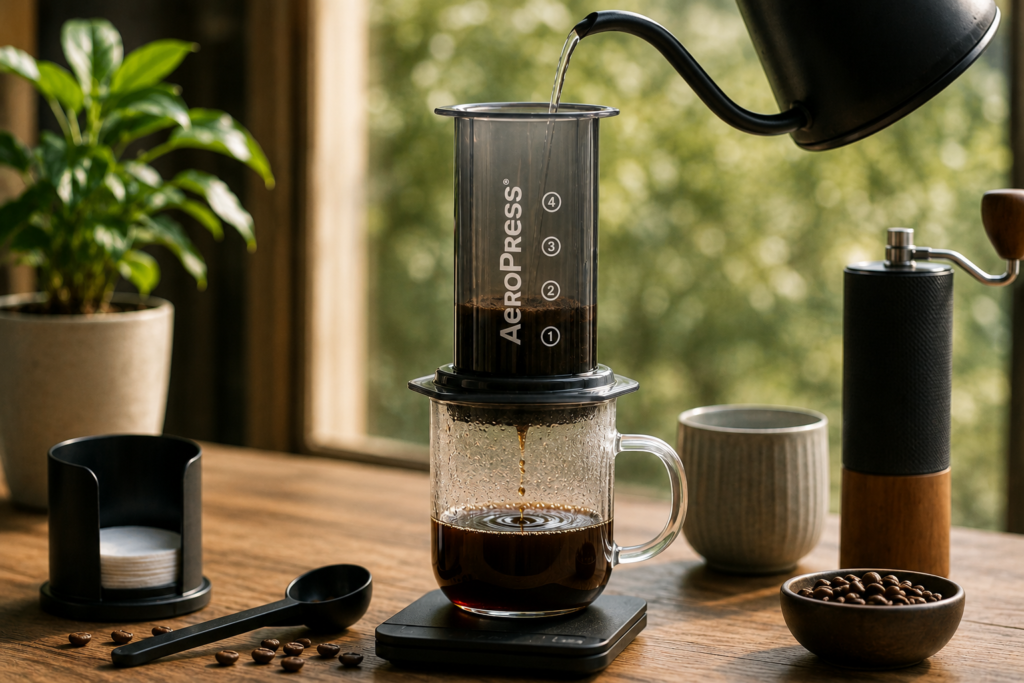
The AeroPress is one of the most versatile brewing devices available — compact, nearly indestructible, and capable of producing anything from a light, tea-like cup to a concentrated, espresso-like shot depending on technique. This guide covers the standard method to get you started, with room to experiment from there. Quick Answer AeroPress brewing uses a medium-fine grind, a 1:15 coffee-to-water ratio, and roughly 90-96°C water, combining immersion steeping with a quick paper-filtered press for a clean, full-bodied cup in under two minutes. What’s in this guide What You’ll Need Step-by-Step Method Tips for a Better Cup Inverted Method Common Mistakes Continue Learning Recommended Coffees Learn More FAQs What You’ll Need An AeroPress, paper filters, a kettle, a scale, a stirrer, and a medium-fine grind of coffee — similar in texture to table salt, slightly finer than standard drip grind. Step-by-Step Method Step Instructions 1. Rinse Rinse the paper filter with hot water to remove papery taste 2. Dose Add 15g coffee to the chamber 3. Bloom Pour 30g water, stir, let bloom 30 seconds 4. Fill Pour remaining water to reach 225g total 5. Steep Stir gently, steep 1 minute 6. Press Attach cap, press down slowly over 20-30 seconds Tips for a Better Cup Pressing too quickly forces water through unevenly and can introduce bitterness — aim for a slow, steady press over 20-30 seconds. If pressing becomes difficult partway through, your grind may be too fine. Inverted Method Many AeroPress users prefer the inverted method — brewing upside down before flipping onto the cup — which allows for longer steep times without dripping prematurely through the filter. Zenforest Expert Tip If your AeroPress coffee tastes thin, try the inverted method with a slightly longer steep time. It gives you more control over contact time than the standard upright method. Common Mistakes ✕Pressing too quickly and introducing bitterness✕Using a grind that’s too coarse, letting water through too fast✕Skipping the bloom step✕Not rinsing the paper filter first✕Using water that’s too hot and scalding the grounds Continue Learning Coffee Grind Size→Brewing Ratios→Coffee Bloom→Coffee Extraction→ Recommended Coffees Medium Roasts Medium Roast Coffees Learn More AeroPress↗ Frequently Asked Questions What grind size is best for AeroPress? A medium-fine grind, similar to table salt, works well for the standard method. Should I use the standard or inverted method? Both work well — inverted gives more control over steep time, while standard is simpler and less prone to leaks. How long should I press? Aim for a slow, steady press over 20-30 seconds for the most even extraction. Can I make espresso-style coffee with AeroPress? You can make a concentrated, espresso-like shot using a higher coffee dose and less water, though it won’t have true crema. How long does AeroPress brewing take? The full process, from bloom to press, typically takes under two minutes. Small Device, Big Range Few brewers offer as much room to experiment as the AeroPress. Start with the standard method above, then start adjusting grind, ratio, and steep time to find your own signature cup. Explore More in the Coffee Academy Every cup tells a story — keep learning, keep tasting, and keep exploring what makes specialty coffee worth the extra care. Visit the Coffee Academy →
Coffee Brewing Temperature Guide
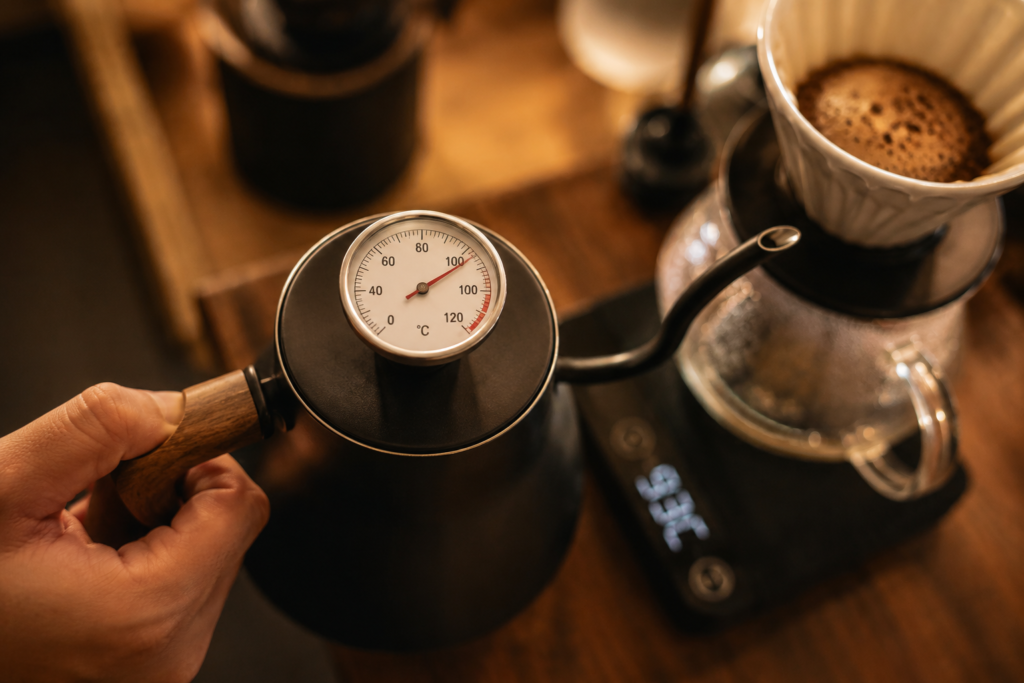
Coffee Brewing Water temperature is one of the simplest variables to control, yet it has an outsized effect on flavour. Too hot and you’ll scald delicate compounds into bitterness; too cool and you’ll under-extract into sourness. Getting it right is easier than it sounds. Quick Answer The ideal coffee brewing temperature is 90-96°C (195-205°F) for most methods. Water hotter than this risks scalding delicate flavour compounds into bitterness, while water cooler than this risks under-extraction and sourness. What’s in this guide Why Temperature Matters The 90-96°C Window Adjusting Temperature by Roast Practical Tips for Home Brewers Common Mistakes Continue Learning Recommended Coffees Learn More FAQs Why Temperature Matters Hotter water extracts flavour compounds faster and more completely; cooler water extracts more slowly and less completely. The right temperature window balances enough extraction for sweetness and body without crossing into bitterness. The 90-96°C Window Most specialty brewing guidelines recommend 90-96°C (195-205°F) as the sweet spot for the majority of brewing methods, including pour-over, French press, and AeroPress. Boiling water straight off the stove, around 100°C, sits outside this range and risks scalding delicate notes. Water Temperature Effect Below 90°C Under-extraction, sour, weak 90-96°C Balanced, ideal extraction Above 96°C (boiling) Over-extraction, bitter, scalded Adjusting Temperature by Roast Darker roasts, having already developed more bitterness during roasting, often benefit from the lower end of the temperature range to avoid amplifying that bitterness further. Lighter roasts can often handle the higher end of the range, since they need more energy to extract their denser structure fully. Practical Tips for Home Brewers If you don’t have a temperature-controlled kettle, simply let boiling water rest for 30-60 seconds before pouring — this typically brings it down into the ideal range without needing precise measurement. Zenforest Expert Tip No thermometer? Boil your water, then let it sit for about 45 seconds before pouring. That short rest reliably brings boiling water down into the ideal 90-96°C brewing range. Common Mistakes ✕Pouring boiling water straight off the stove✕Using lukewarm water and expecting full extraction✕Not adjusting temperature for darker roasts✕Assuming all brewing methods need identical temperature✕Ignoring temperature drop during longer brew times Continue Learning Coffee Extraction→Coffee Bloom→Brewing Ratios→French Press→ Recommended Coffees Brewed Best Within Range Whiskey Barrel Learn More Specialty Coffee Association (SCA) — Brewing Control Chart↗ Frequently Asked Questions What temperature should I brew coffee at? 90-96°C (195-205°F) is the standard recommended range for most brewing methods. Can I use boiling water for coffee? It’s not recommended — boiling water can scald delicate flavour compounds, producing excess bitterness. Does temperature matter for cold brew? Cold brew uses room temperature or cold water by design, relying on extended steep time instead of heat to extract flavour. How do I cool boiling water without a thermometer? Let it rest for roughly 30-60 seconds after boiling — this typically brings it into the ideal range. Should dark roast be brewed cooler than light roast? Generally yes — slightly cooler water can help avoid amplifying dark roast’s existing bitterness. Temperature Is an Easy Variable to Get Right Unlike grind size or ratio, temperature is simple to control consistently once you know the target range. A kettle with temperature control — or just a 45-second rest after boiling — is all it takes. Explore More in the Coffee Academy Every cup tells a story — keep learning, keep tasting, and keep exploring what makes specialty coffee worth the extra care. Visit the Coffee Academy →
Best Water for Coffee
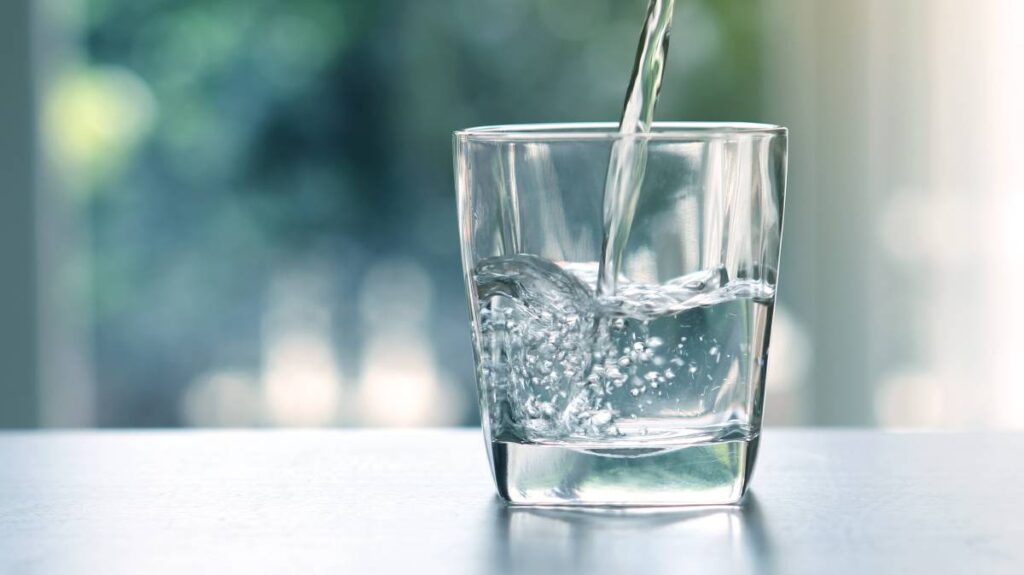
Water makes up over 98% of a brewed cup, yet it’s the variable home brewers think about least. The right water doesn’t just avoid bad flavours — it actively helps extraction, while the wrong water can sabotage even the best beans. Quick Answer The best water for coffee is filtered water with moderate mineral content, free of strong chlorine taste, ideally with a TDS (Total Dissolved Solids) reading between roughly 75-250 ppm. Both distilled water and very hard tap water tend to extract poorly. What’s in this guide Mineral Content Hardness Filtered Water TDS (Total Dissolved Solids) Common Mistakes Continue Learning Recommended Coffees Learn More FAQs Mineral Content A small amount of dissolved minerals, particularly magnesium and calcium, actually helps extraction by binding with flavour compounds. Completely pure distilled water often brews flat and lifeless, lacking the minerals that help draw out flavour. Hardness Very hard water — high in dissolved minerals — can over-extract and taste chalky or harsh, while very soft water can under-extract and taste thin. A moderate middle ground produces the most balanced results for most coffee. Filtered Water Always use filtered water if your tap water tastes noticeably of chlorine or other treatment chemicals, since those flavours transfer directly into the cup. A basic carbon filter pitcher solves this for most households. TDS (Total Dissolved Solids) TDS measures the mineral concentration in water, with most specialty brewing guidelines recommending a range of roughly 75-250 ppm. Many tap water sources fall within or near this range already; a cheap TDS meter can confirm where yours stands. Water Type Typical TDS Suitability Distilled 0 ppm Too low — flat extraction Filtered tap 75-150 ppm Good Moderate tap 150-250 ppm Good Very hard water 300+ ppm Too high — harsh extraction Zenforest Expert Tip If you’re unsure about your tap water, taste it plain first. If it tastes noticeably of chlorine, minerals, or anything off, that flavour will carry directly into your coffee — filter it before brewing. Common Mistakes ✕Brewing with distilled water and wondering why coffee tastes flat✕Ignoring chlorine taste in tap water✕Assuming bottled water is automatically better✕Never testing your water’s TDS or hardness✕Using extremely hard, mineral-heavy water without filtering Continue Learning Coffee Brewing Temperature→Coffee Extraction→Brewing Ratios→ Recommended Coffees Every Single Origin Coorg HighlandsCinnamon Fermented Learn More Specialty Coffee Association (SCA) — Water Standards↗Barista Hustle — Water Guide↗ Frequently Asked Questions Is bottled water better for coffee? Not automatically — some bottled waters have too little or too much mineral content. Check the label’s TDS or mineral content if quality matters to you. Can I use distilled water for coffee? You can, but it often brews flat, since distilled water lacks the minerals that help extract flavour properly. Does tap water work fine for coffee? Often, yes, especially if filtered — many municipal water supplies fall within a reasonable mineral range for brewing. What TDS is ideal for coffee brewing? Most specialty guidelines recommend roughly 75-250 ppm for balanced extraction. Does water temperature matter as much as water quality? Both matter — temperature affects extraction speed, while mineral content affects how effectively flavour compounds are drawn out. Don’t Overlook the Water Great beans deserve great water. A simple carbon filter and a basic understanding of mineral content go a long way toward making sure nothing in your brewing process is working against the coffee itself. Explore More in the Coffee Academy Every cup tells a story — keep learning, keep tasting, and keep exploring what makes specialty coffee worth the extra care. Visit the Coffee Academy →
Coffee Brewing Ratios Explained
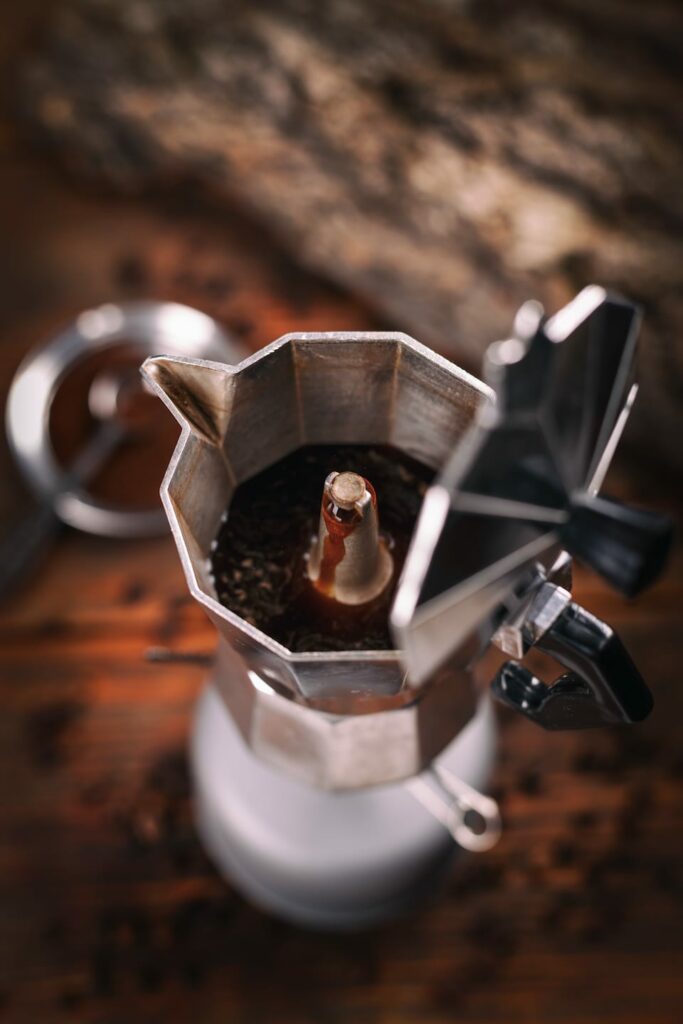
Coffee Brewing ratio — the proportion of coffee to water — is the single biggest lever you have over strength and balance. Eyeballing scoops and cups makes consistency almost impossible; weighing both coffee and water is the fastest upgrade most home brewers can make. Quick Answer A coffee brewing ratio describes the weight of coffee relative to water, written as a ratio like 1:16 (1 gram of coffee per 16 grams of water). Ratios vary by brewing method, from concentrated espresso at roughly 1:2 to diluted cold brew concentrate at roughly 1:8. What’s in this guide Why Ratios Matter Standard Ratios by Method Adjusting Ratio for Taste Measuring Accurately Common Mistakes Continue Learning Recommended Coffees Learn More FAQs Why Ratios Matter Weighing coffee and water removes the single biggest source of inconsistency in home brewing. A scoop of coffee can vary by 20% or more depending on grind size and bean density, but a gram is always a gram. Standard Ratios by Method Method Ratio V60 / Pour Over 1:16 French Press 1:15 AeroPress 1:15 Cold Brew Concentrate 1:8 Espresso 1:2 Adjusting Ratio for Taste These ratios are reliable starting points, not strict rules. Tightening the ratio (less water per gram of coffee) produces a stronger, more concentrated cup; loosening it produces a lighter, more diluted one. Adjust within a small range — roughly 1:14 to 1:18 for pour-over — to dial in personal preference. Measuring Accurately A basic kitchen scale accurate to at least 0.1g makes the biggest single difference in consistency. Measure both your coffee dose and your total water for genuinely repeatable results, not just the coffee alone. Zenforest Expert Tip Start with the standard ratio for your method, brew it exactly as written, and taste it before changing anything. Most people adjust ratio before they’ve actually identified whether the problem is extraction, not strength. Common Mistakes ✕Using scoops instead of a scale✕Confusing strength (ratio) with extraction quality✕Using the same ratio across very different brewing methods✕Not measuring total water, only the coffee dose✕Changing ratio and grind size at the same time when troubleshooting Continue Learning Coffee Extraction→Coffee Bloom→Coffee Brewing Temperature→Best Water for Coffee→French Press→Pour Over→ Recommended Coffees Whole Bean Collection Whole Bean Collection Learn More Specialty Coffee Association (SCA)↗ Frequently Asked Questions What is the best coffee to water ratio? 1:16 is a reliable starting point for pour-over; other methods like French press (1:15) and espresso (1:2) use tighter ratios. Does a stronger ratio mean better coffee? Not necessarily — strength is a preference, while extraction quality (whether it tastes balanced, not sour or bitter) is the real measure of a well-made cup. Can I use the same ratio for all coffees? You can use the same ratio as a baseline, but adjusting slightly for roast level and origin often improves the result. Do I need a scale to brew good coffee? It’s strongly recommended — a scale removes most of the inconsistency that comes from eyeballing scoops and cups. What ratio should I use for cold brew? A concentrate ratio of roughly 1:8 is standard, diluted with water or milk to taste before drinking. Consistency Starts With a Scale Of every change you can make to your brewing setup, switching from scoops to a scale delivers the most consistent improvement. Once ratio is locked in, every other adjustment becomes far easier to evaluate. Explore More in the Coffee Academy Every cup tells a story — keep learning, keep tasting, and keep exploring what makes specialty coffee worth the extra care. Visit the Coffee Academy →
Coffee Extraction Explained
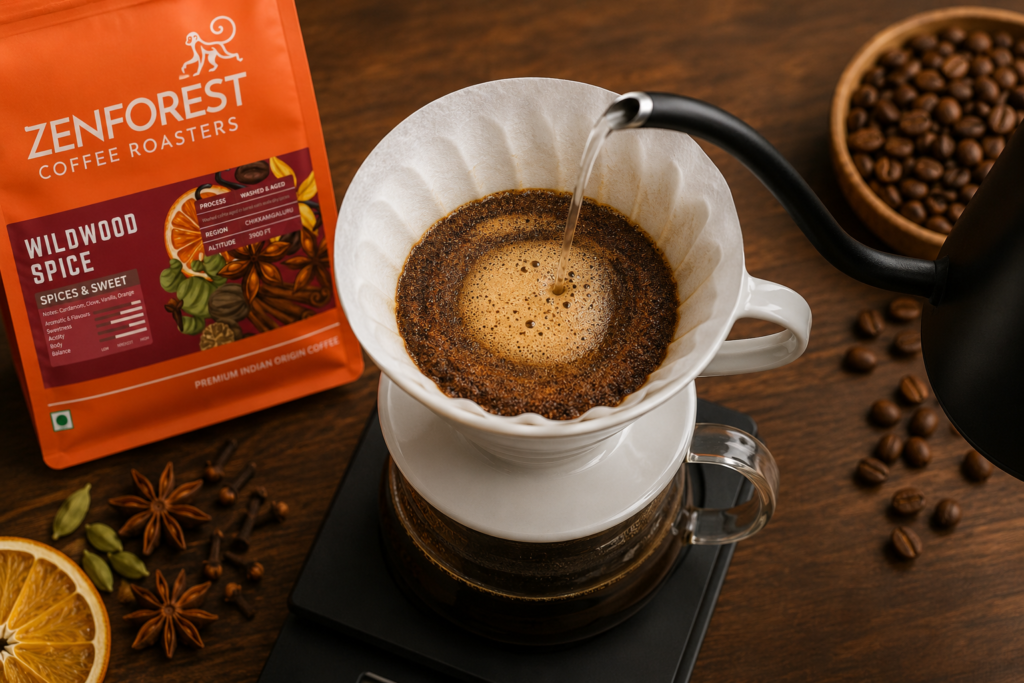
Coffee Extraction is the single most important concept in brewing — more important than the beans, the grinder, or the brewing device itself. It’s the process of dissolving flavour compounds out of ground coffee into water, and getting it right is what separates a balanced, sweet cup from one that’s sour, bitter, or thin. Quick Answer Extraction is the process of dissolving soluble flavour compounds from ground coffee into water during brewing. Under-extraction pulls too few compounds and tastes sour or thin; over-extraction pulls too many and tastes bitter or harsh; proper extraction lands in between and tastes balanced and sweet. What’s in this guide What Happens During Extraction Under-Extraction Over-Extraction Finding the Balance Variables That Control Extraction Common Mistakes Continue Learning Recommended Coffees Learn More FAQs What Happens During Extraction As hot water contacts ground coffee, it dissolves soluble compounds in a predictable order — acids and sugars come out first, followed by more complex flavour compounds, and finally bitter compounds if extraction continues too long. Under-Extraction Under-extraction happens when not enough has been pulled from the grounds, typically from too coarse a grind, water that’s too cool, or too short a brew time. The result tastes sour, sharp, and thin, lacking sweetness and body. Over-Extraction Over-extraction happens when too much has been pulled, usually from too fine a grind, water that’s too hot, or too long a brew time. The result tastes bitter, harsh, and astringent, often masking the coffee’s natural sweetness. Finding the Balance Properly extracted coffee falls in a sweet spot where acids, sugars, and other flavour compounds are balanced — not so little that it tastes hollow, not so much that bitterness dominates. Most brewing guides target roughly 18-22% extraction yield, though taste should always be the final judge. Variables That Control Extraction Variable More Extraction Less Extraction Grind size Finer Coarser Water temperature Hotter Cooler Brew time Longer Shorter Agitation More stirring/turbulence Less agitation Zenforest Expert Tip If your coffee tastes sour, extract more — grind finer or brew longer. If it tastes bitter, extract less — grind coarser or shorten brew time. Change one variable at a time so you know what actually fixed it. Common Mistakes ✕Changing multiple variables at once when troubleshooting✕Assuming sourness means weak coffee rather than under-extraction✕Using the same grind size across different brewing methods✕Ignoring brew time as an extraction variable✕Not tasting and adjusting between brews Continue Learning Coffee Bloom→Coffee Bitterness→Coffee Acidity→Coffee Sweetness→Coffee Body→Brewing Ratios→ Recommended Coffees Great for Dialing In Extraction Chikkamagaluru Arabica Learn More Specialty Coffee Association (SCA)↗ Frequently Asked Questions What is a good extraction percentage for coffee? Most guidelines target 18-22% extraction yield, though personal taste preference matters more than hitting an exact number. Why does my coffee taste sour? Sourness usually points to under-extraction — try a finer grind, hotter water, or longer brew time. Why does my coffee taste bitter? Bitterness usually points to over-extraction — try a coarser grind, cooler water, or shorter brew time. Does grind size matter more than water temperature? Both matter significantly, but grind size generally has the larger effect on extraction speed. Can I measure extraction at home? Specialty refractometers exist for precise measurement, but tasting and adjusting is a perfectly reliable method for home brewing. Extraction Is the Skill Worth Mastering Every brewing problem traces back to extraction in some way. Once you understand how grind size, temperature, and time interact, you can fix almost any cup — and adapt instantly to a new bag of beans. Explore More in the Coffee Academy Every cup tells a story — keep learning, keep tasting, and keep exploring what makes specialty coffee worth the extra care. Visit the Coffee Academy →
Coffee Bloom Explained
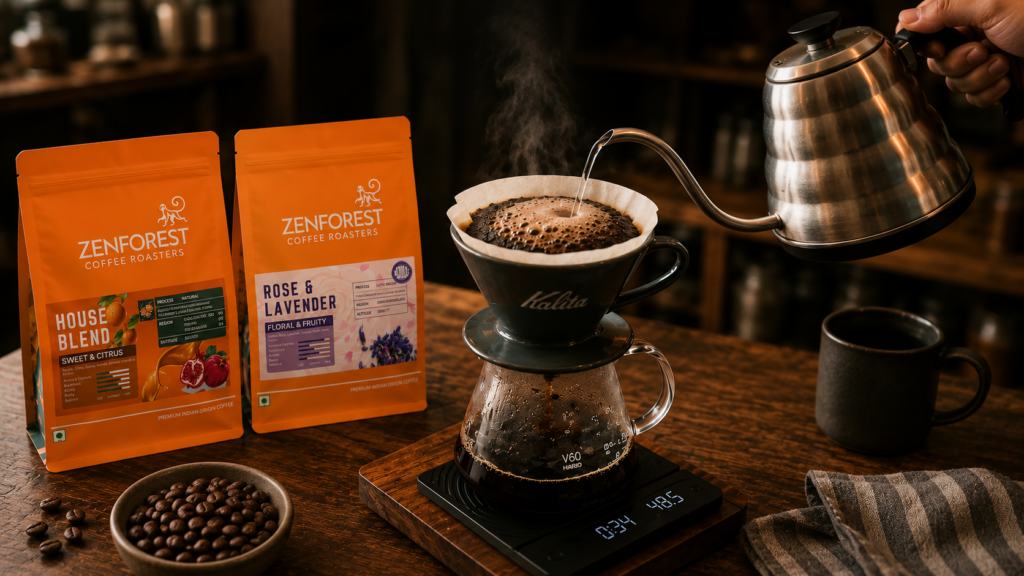
If you’ve ever poured a small amount of hot water onto coffee grounds and watched them swell and bubble, you’ve witnessed the bloom — a small but important step that affects how evenly your coffee extracts. Understanding bloom is one of the easiest upgrades you can make to your brewing routine. Quick Answer Coffee bloom is the release of trapped carbon dioxide when hot water first contacts freshly roasted, freshly ground coffee, causing the grounds to swell and bubble. Blooming for 30-45 seconds before the main pour allows that gas to escape, leading to more even extraction. What’s in this guide What Causes Bloom Why Bloom Matters How to Bloom Coffee What a Weak Bloom Means Common Mistakes Continue Learning Recommended Coffees Learn More FAQs What Causes Bloom Roasting generates carbon dioxide that gets trapped inside the bean’s cellular structure. When hot water hits the grounds, that trapped CO2 rapidly escapes, pushing water and air out as visible bubbles and causing the grounds to visibly rise. Why Bloom Matters If that trapped gas isn’t released before the main pour, it can repel water unevenly, causing some grounds to extract more than others. Blooming first clears the way for water to saturate the grounds evenly during the rest of the brew. Bean Freshness Bloom Behavior Very fresh (under 2 weeks) Strong bubbling and visible rise Moderately fresh (2-6 weeks) Light to moderate bubbling Stale (6+ weeks) Minimal or no visible bloom How to Bloom Coffee Pour just enough hot water to saturate the grounds — roughly twice the weight of the coffee — and let it sit for 30-45 seconds before continuing with the main pour. You should see noticeable bubbling and expansion if the beans are reasonably fresh. What a Weak Bloom Means Minimal or no bloom usually signals stale beans that have already lost most of their trapped CO2. Freshly roasted coffee, typically within a few weeks of its roast date, blooms the most vigorously. Zenforest Expert Tip Use bloom as a freshness test. If your coffee barely bubbles during bloom, it’s likely past its peak freshness window — a strong, active bloom is a reliable sign you’re working with recently roasted beans. Common Mistakes ✕Skipping the bloom step entirely✕Pouring the full brew water immediately without waiting✕Using stale beans and expecting a strong bloom✕Blooming for too short a time to let gas fully escape✕Over-saturating during bloom and disrupting even extraction Continue Learning Coffee Extraction→Pour Over→French Press→ Recommended Coffees Fresh-Roasted, Great for Blooming Monsoon Malabar Learn More Hario↗Chemex↗ Frequently Asked Questions How long should coffee bloom? Typically 30-45 seconds is enough for most pour-over methods, though very fresh beans may benefit from a few extra seconds. Why doesn’t my coffee bloom? This usually means the beans are stale and have already released most of their trapped carbon dioxide. Does bloom apply to all brewing methods? It applies most directly to pour-over and similar manual methods; some automatic drip machines and espresso also incorporate a bloom or pre-infusion stage. How much water should I use to bloom? Roughly double the weight of your coffee dose — for example, 30g of water for 15g of coffee. Does skipping bloom ruin the coffee? It won’t ruin it, but it can lead to uneven extraction and a less balanced cup compared to a properly bloomed brew. A Small Step With a Big Payoff Blooming takes less than a minute but noticeably improves how evenly your coffee extracts. It’s one of the simplest habits to add to your routine, and a great built-in way to judge the freshness of any new bag. Explore More in the Coffee Academy Every cup tells a story — keep learning, keep tasting, and keep exploring what makes specialty coffee worth the extra care. Visit the Coffee Academy →